I recently received an M5Stack ESP32 development kit from Banggood. Although I have not used any ESP32 based development boards before, I have heard many good things about the ESP32 platform, especially for its rich feature set and versatile connectivity. After all, it was designed to have IoT applications in mind. So I was pretty excited to take it for a spin.
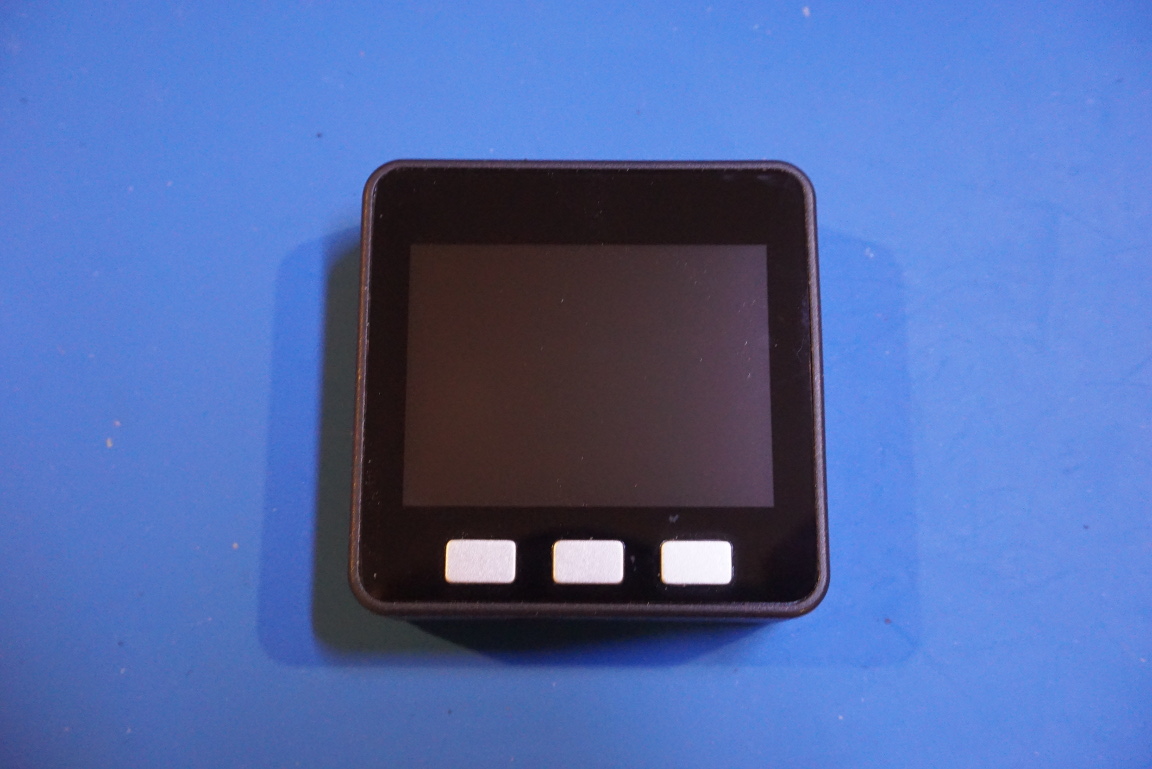
Well the M5Stack unfortunately is not the cheapest ESP32 to get started with. With many ESP32 boards selling for just around $5, its $36 price tag seems a big steep. For the price however, it does come with a nice enclosure, an integrated speaker, a microSD card reader and a color LCD. It also looks and feels like a quality product that can be placed in your living quarters without being seemingly out-of-place.
|
|
It is designed for expandability. Like an Arduino where you can put different shields on to expand its functionality, you can stack on different modules specifically designed for M5Stack, hence the name “stack”.
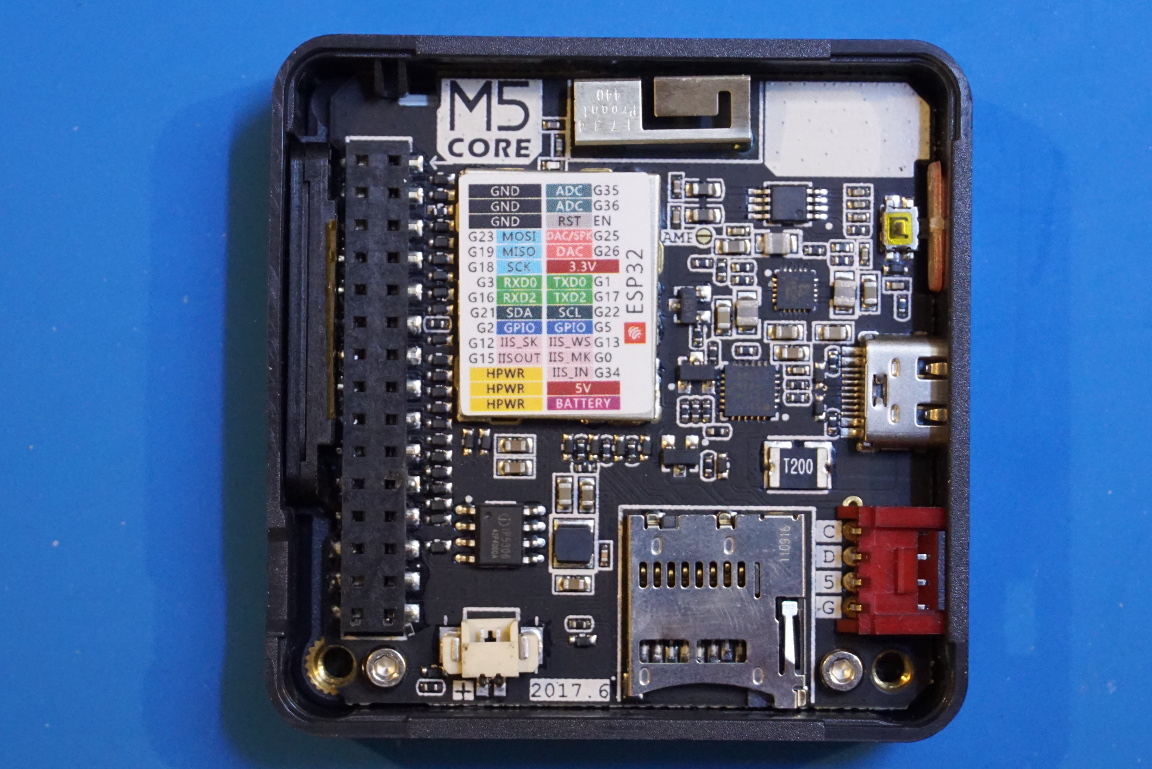
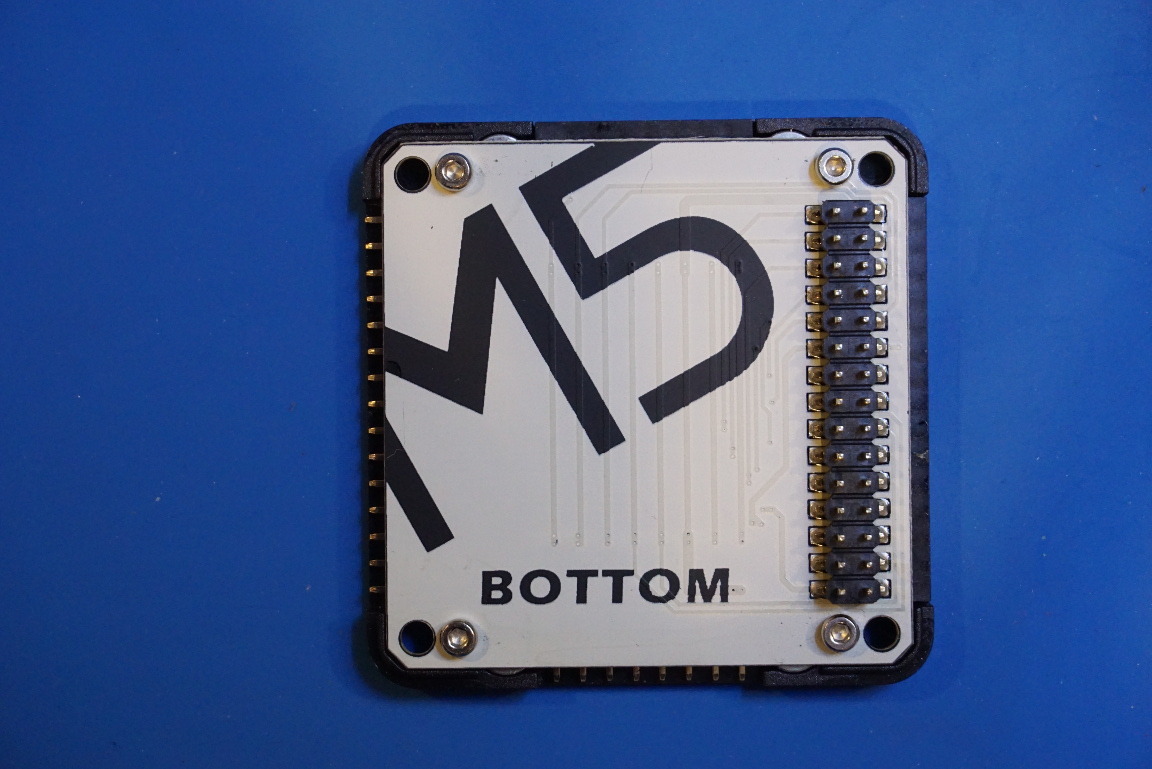
As you can see from the picture below, the two row headers are for the inter-board connections. Since the top and bottom halves are held together via only these off-centered header connectors, the side that is away from the header can be pried open easily and does cause some concerns. It would be nice if the case also includes tabs that can click together.
The schematic for the M5Stack can be found here.
|
|
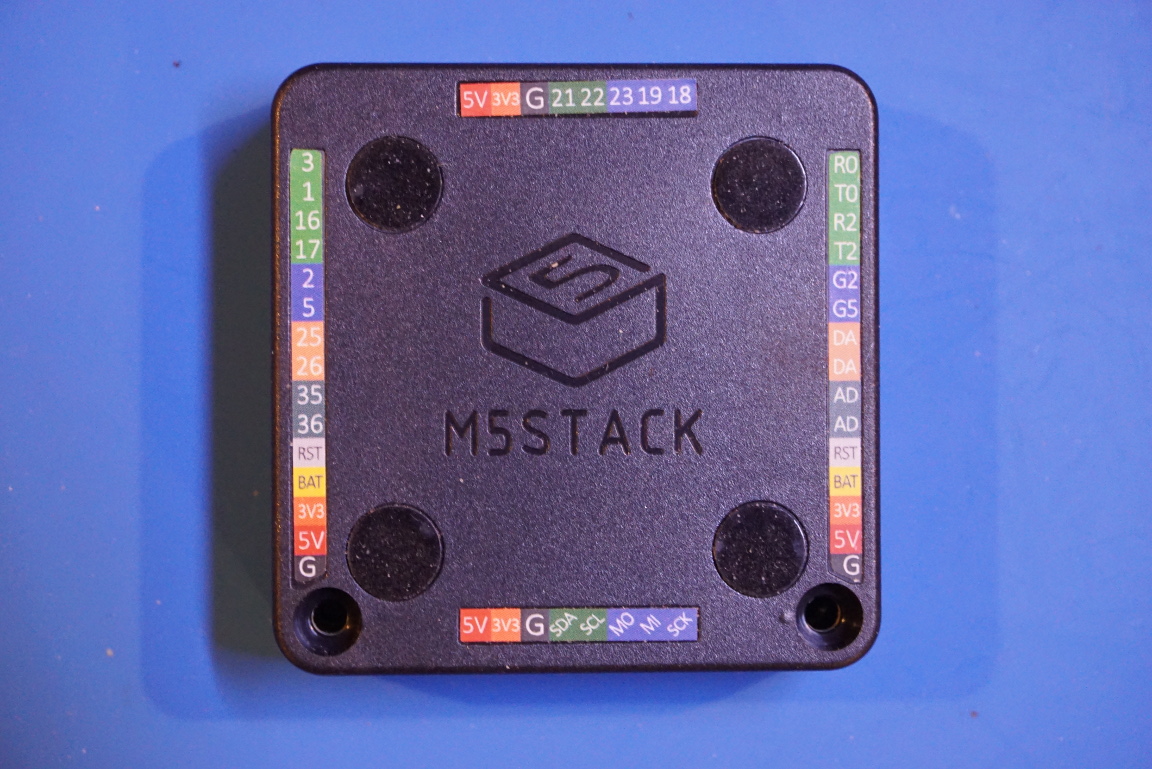
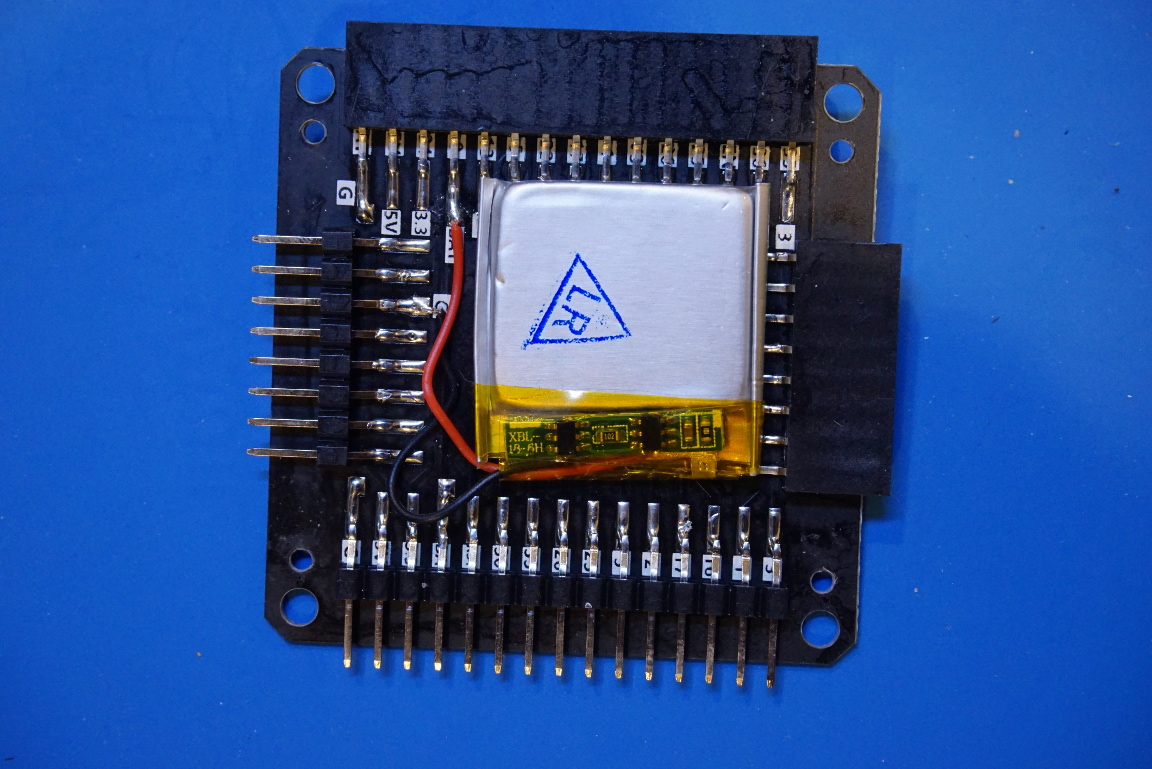
The bottom half of the basic version of the M5Stack (a.k.a. core development kit) routes the I/O pins to the standard 0.1 inch headers along the edges so they can be easily accessed. There is also a tiny LiPo pouch included which is useful for running the unit for a short period of time between charges.
|
|
Since I just did a fresh installation of Ubuntu 18.04 (Bionic Beaver), I decided to document the process to get it up and running with the Arduino IDE.
The Arduino IDE version I used is 1.8.5 for 64 bit Linux. Following the instructions here, I was able to get the M5Stack-Core-ESP32 menu item to appear under the Tools->Board menu.
To get the examples to show up under File->Examples, you will need to follow the instructions on M5Stack’s GitHub page. The above instructions can also be found printed on the pamphlet included in the development kit.
The first time you try to upload one of the examples, you may be greeted with the following error message:
[Errno 13] could not open port /dev/ttyUSB0: [Errno 13] Permission denied
This is because typically only root has rights to access USB ports directly. To get around it, you can put the following line into a file (name it 97-m5stack.rules or any name you want)
SUBSYSTEM=="tty", SUBSYSTEMS=="usb", ATTRS{idVendor}=="05e3", ATTRS{idProduct}=="0608", MODE="0666"
and save it in /etc/udev/rules.d
As a side note, if you are using Arduino and having issue accessing the board after you installed the IDE, you can put the line below into a file (98-arduino.rules) in /etc/udev/rules.d:
SUBSYSTEM=="tty", SUBSYSTEMS=="usb", ATTRS{idVendor}=="0403", ATTRS{idProduct}=="6001", MODE="0666"
After writing 97-m5stack.rules to /etc/udev/rules.d/, the Arduino IDE should now have permission to upload programs to the M5Stack board.
The video below is a walk-through video of this development kit and environment setup on Linux.

