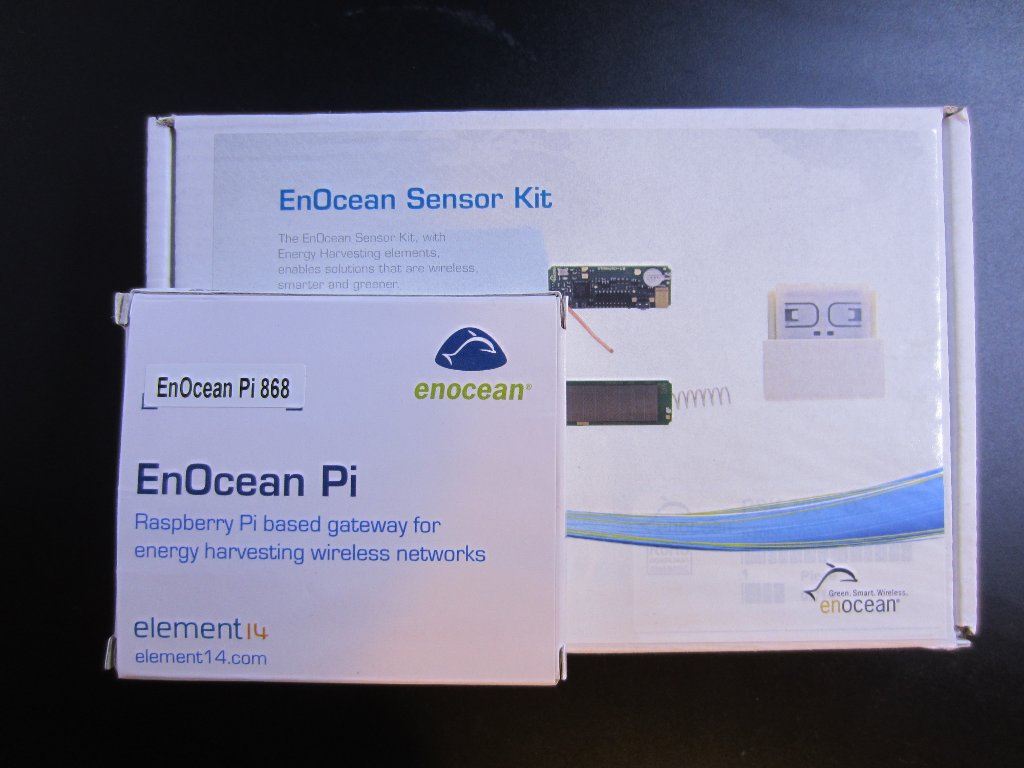
I recently got the EnOcean Pi and EnOcean sensor kit from Newark. The sensor kit includes a temperature sensor module (STM330), a magnet contact transmitter module (STM320) and a pushbutton transmitter switch module (PTM210). The EnOcean Pi module is a receiver adapter board that connects directly to the popular Raspberry Pi. It is a gateway for handling the all the communications with the wirelessly connected sensors.
One of the key features of these sensor modules is that they all use some sort of energy harvesting technologies and thus do not rely on batteries. Both the temperature sensor module and the magnet contact transmitter module use photovoltaic cells to charge an onboard supercapacitor. Once fully charged, they can operate under total darkness for up to 60 hours according to the datasheet. The pushbutton transmitter module is perhaps the most interesting one. It uses a built-in electro-dynamic power generator (also referred to as an energy bow). For every button push, the energy bow is actuated and the generated energy is used to transmit the button status data.
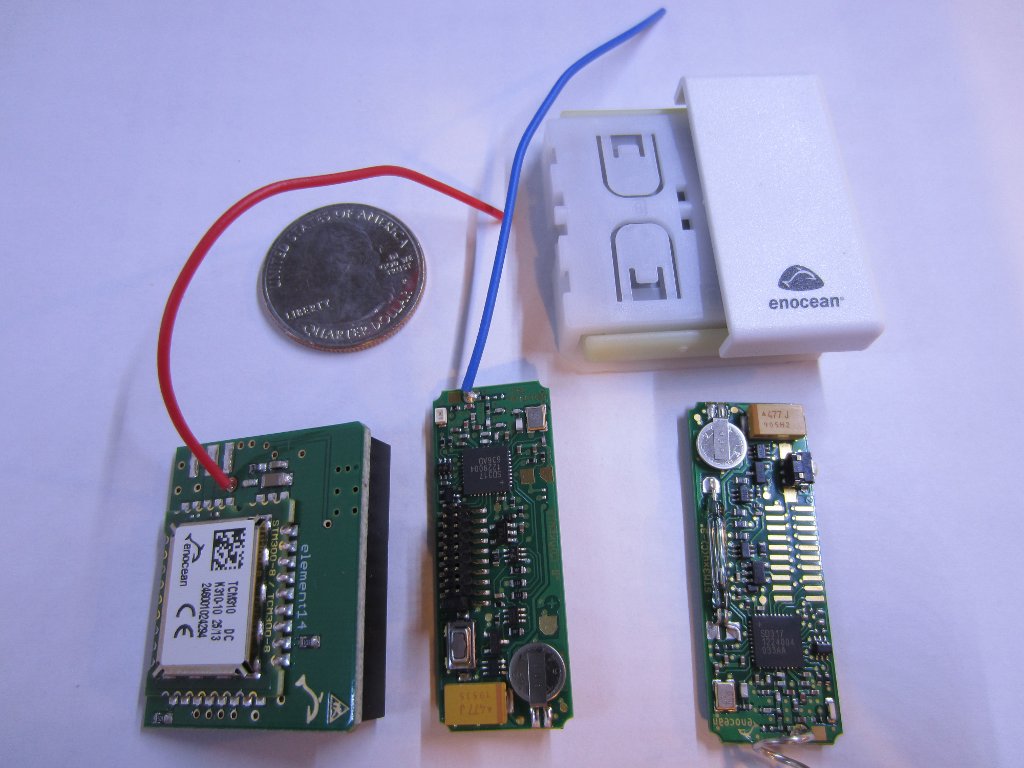
These sensors are shipped as ready-to-use modules and because of their miniature sizes (see picture below, compared to the size of a quarter), they can be mounted directly onto the final products without requiring much additional space.
|
|
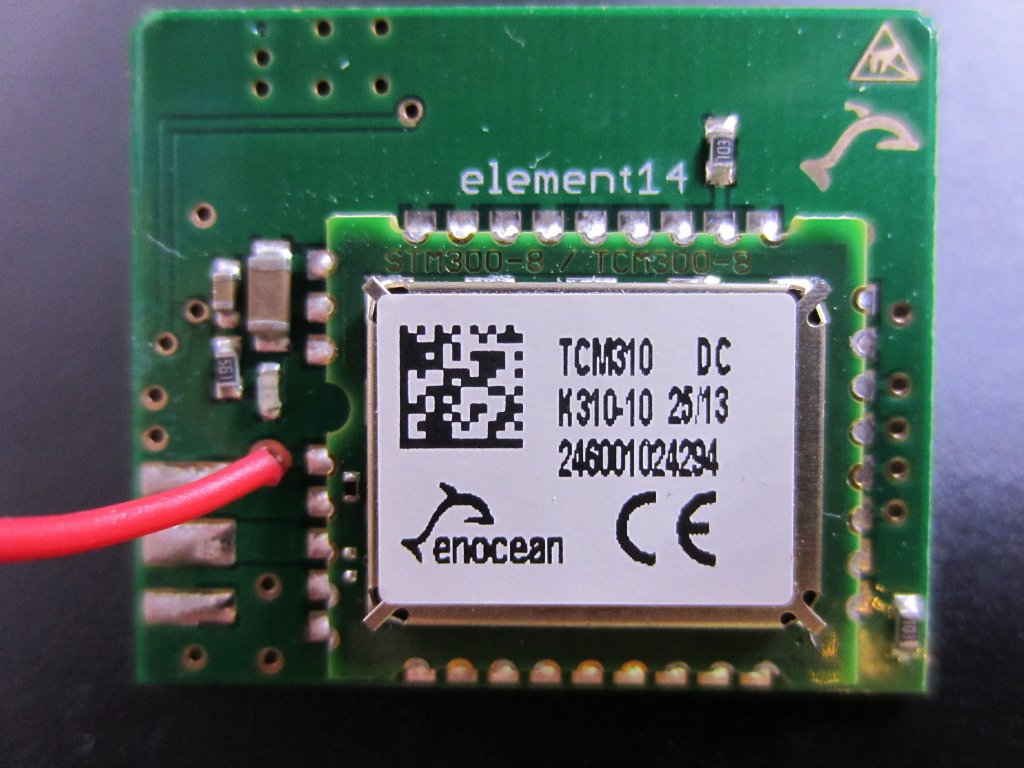
The EnOcean Pi module is simply an EnOcean TCM310 module mounted onto an interface board so it can be plugged directly into the standard 26-pin Raspberry Pi header (for the newer Raspberry Pi B+, the first 26 pins are compatible with the Raspberry Pi B model).
|
|
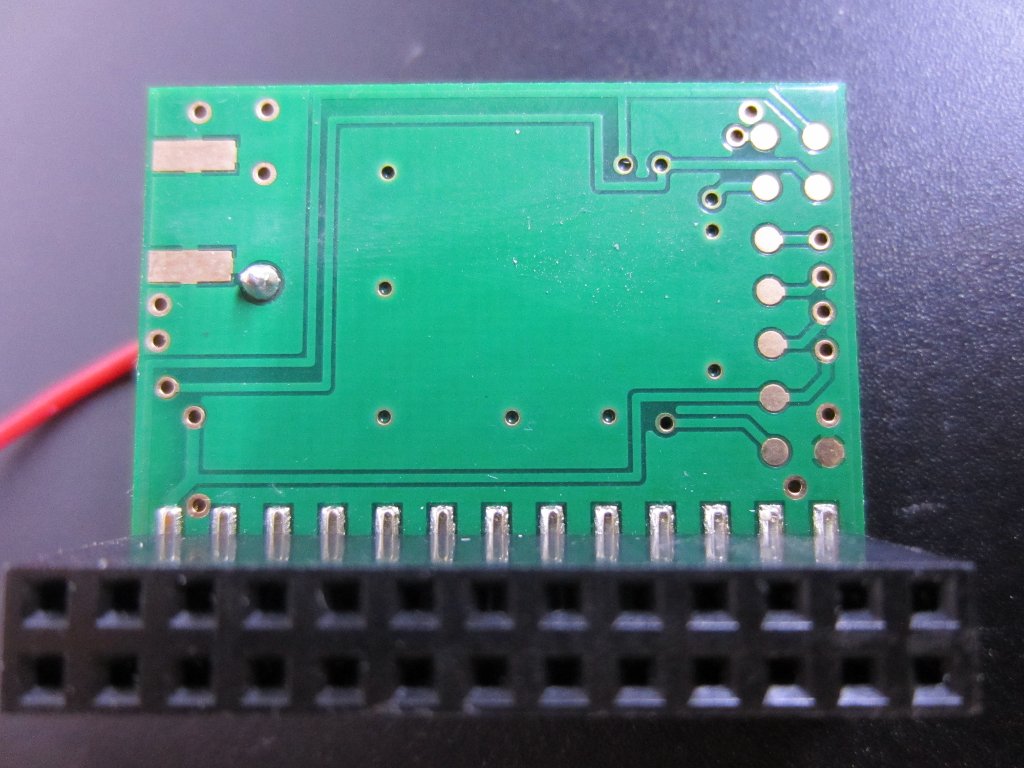
I could not find the actual adapter board layout on the product page. But a quick trace suggests that only the following for pins are used:
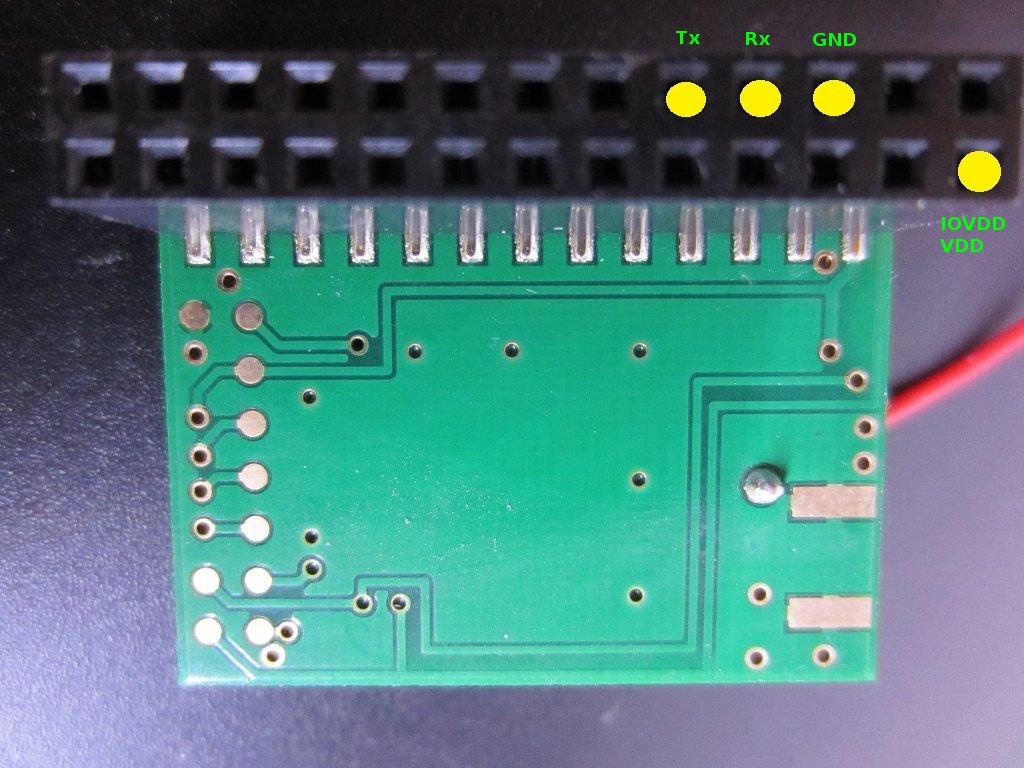
The IOVdd and Vdd pins are connected directly to pin 1 (3.3V) on Raspberry Pi. Besides the power and ground pins, the only connections are to the hardware UART pins (header pin 8 and pin 10). This is not surprising as the TCM 310 module simply provides a bi-directional serial interface between the EnOcean gateway and the wireless sensors.
This is really good news for people using other microcontrollers (e.g. Arduino, MSP430, etc.) rather than Raspberry Pi as in theory you can create your own libraries to communicate with the TCM310 module by implementing the EnOcean Serial Protocol. So I am sure people outside the Raspberry Pi community will implement their MCU specific version of the gateway in the future as more and more people start to experiment with the EnOcean sensor kit.
I do wish element14 had used a stackable header instead of the surface mount header as after mounting the EnOcean gateway module it became next to impossible to access the remaining unused IO pins on the Raspberry Pi. I will most likely add a simple adapter board between the Raspberry Pi and the gateway module when I do more experiments so I can access the other IO pins.
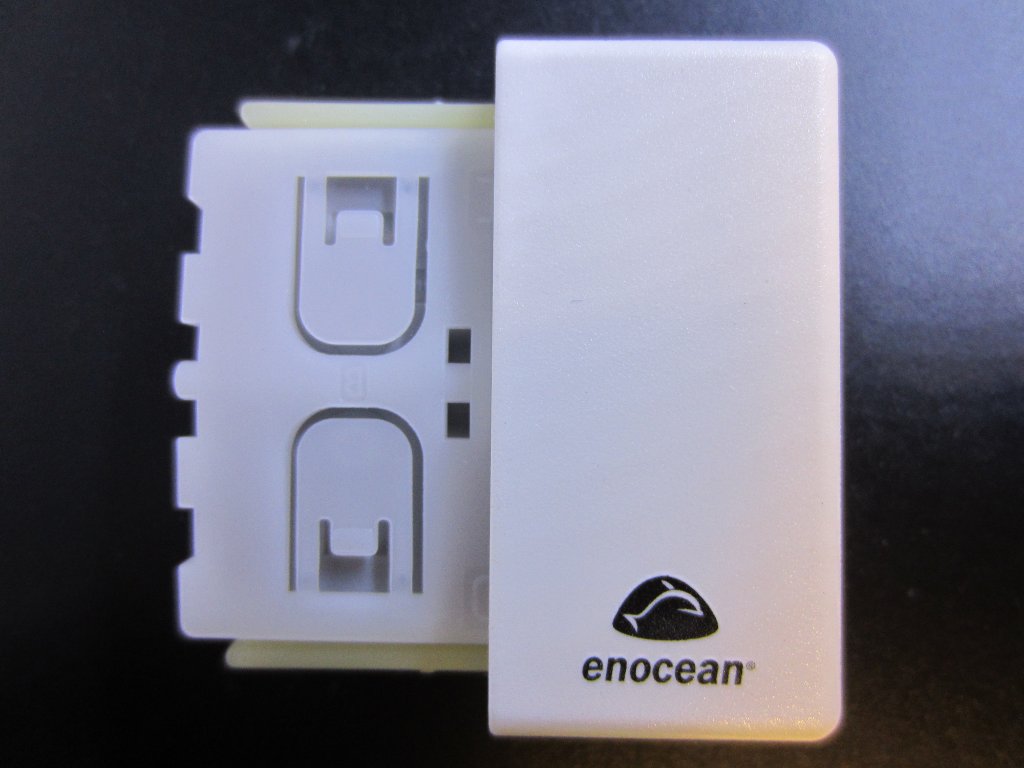
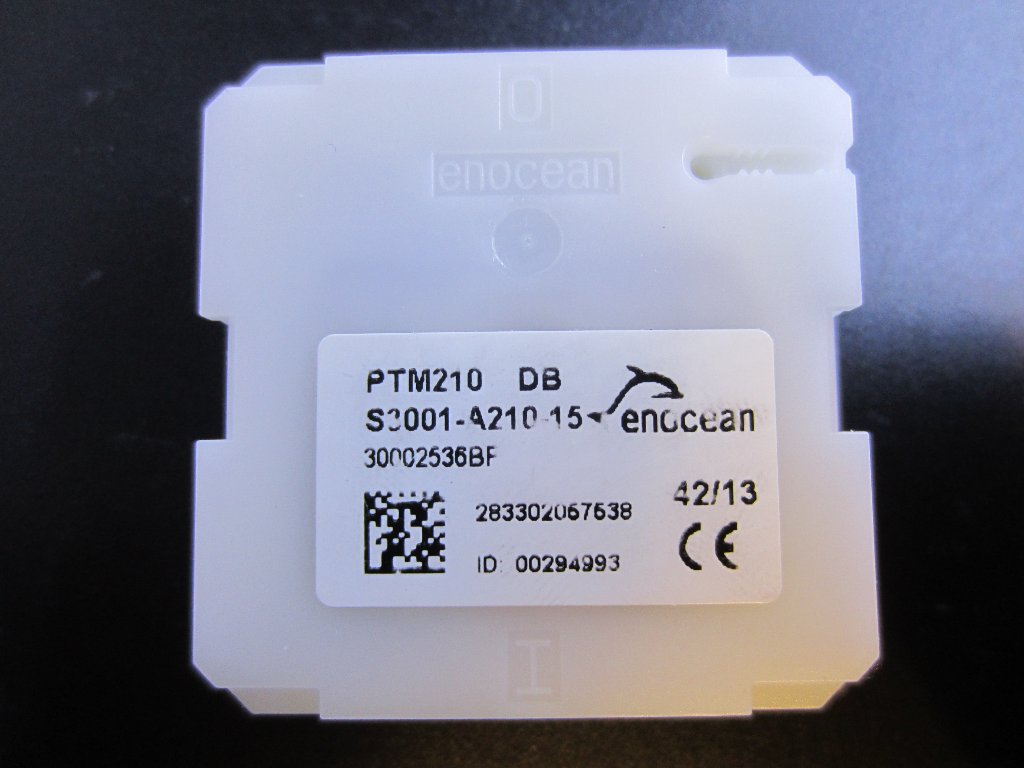
Now, let’s take a look at what’s included in the EnOcean sensor kit a bit more closely. Here are a couple of pictures of the pushbutton module (PTM210). As I mentioned earlier, it uses “energy bow” mounted on either side of the module to generate the power needed for the data transmission. When the rocker (the right portion on the first image below) is pressed, the energy bow on the side where the rocker is depressed is actuated and at the same time the corresponding button is pressed down. The mechanism is actually quite elegant, and you will definitely appreciate it when you hold the module in your hand.
|
|
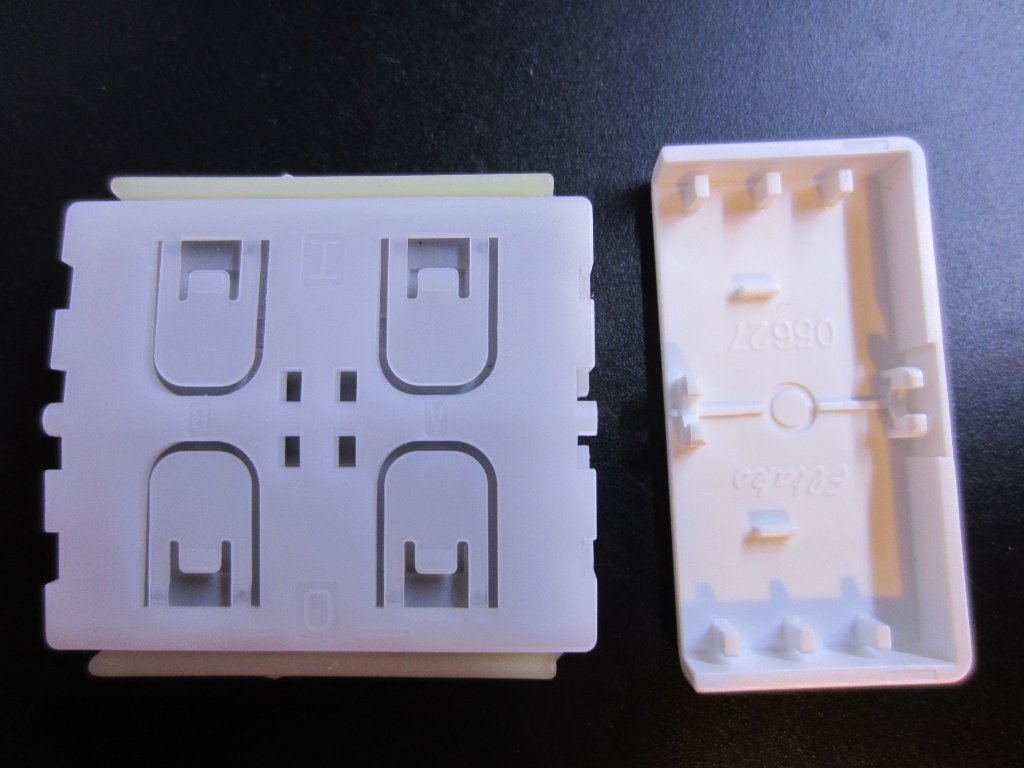
Interesting enough though, only one rocker is supplied. This means to activate the other two buttons you will have to either switch the rocker (it can be unsnapped easily, see picture below) or depress the desired button and push lever on the side to actuate the energy bow at the same time (you will probably need both hands to do this).
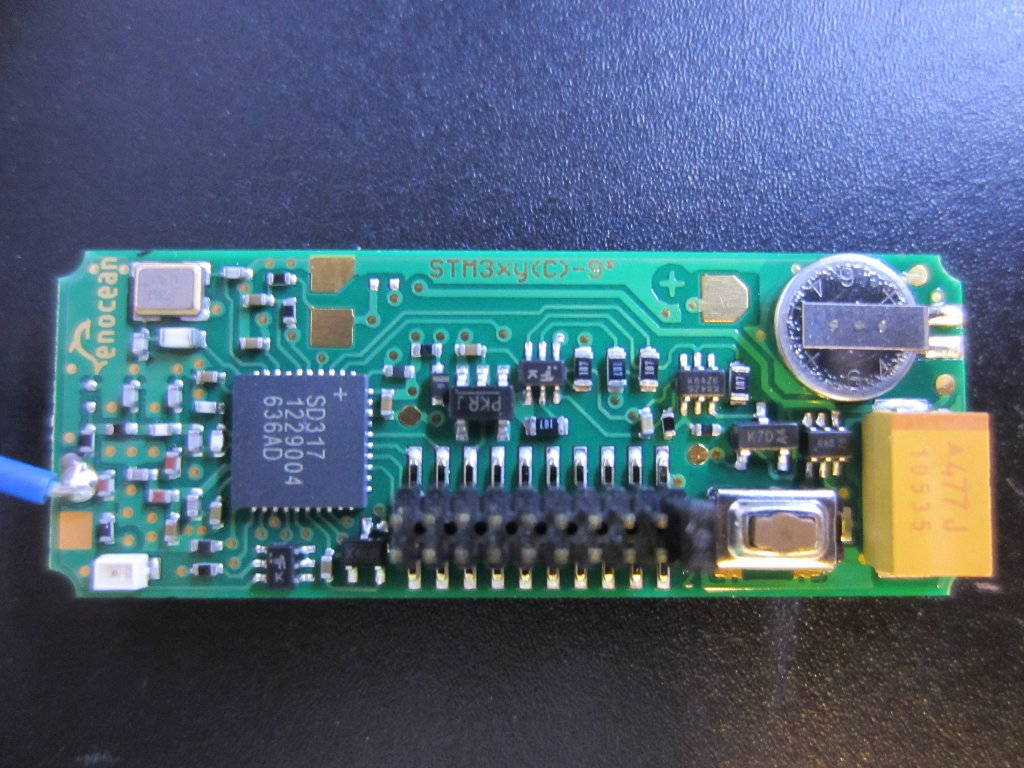
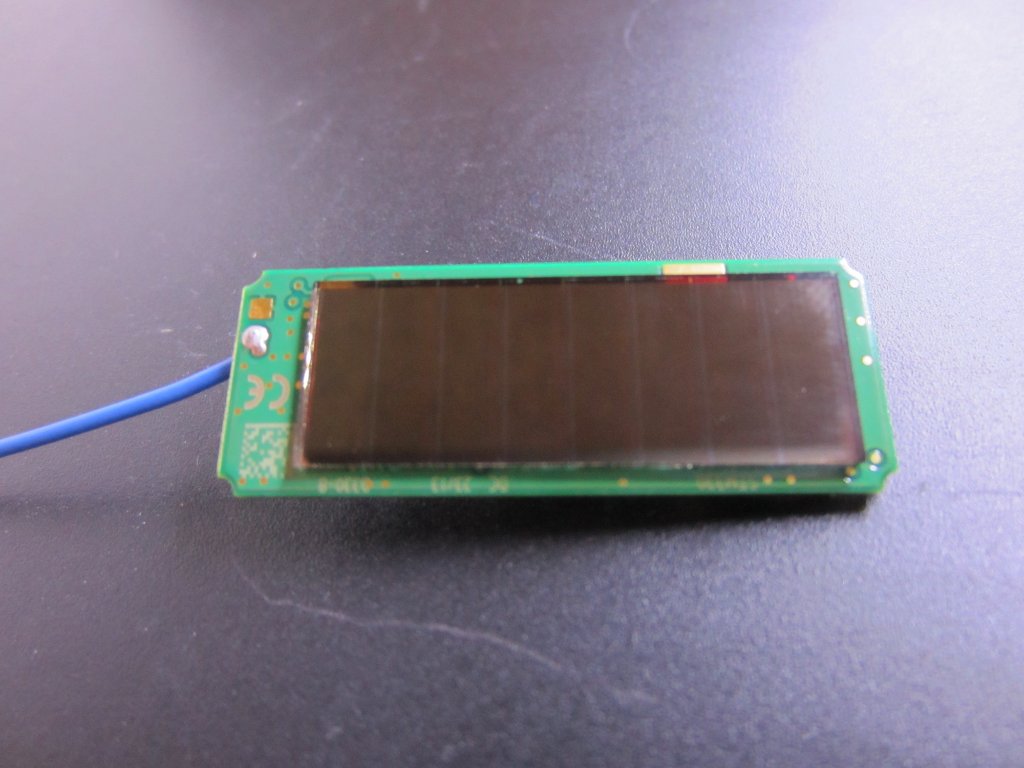
The board layouts for the temperature module and the magnetic contact transmitter module are identical. Both boards rely on an onboard 8051 MCU for assembling the telegrams to be sent. Presumably the only differences lie in the sensors used and the firmware. The pictures below are the temperature transmitter module:
|
|
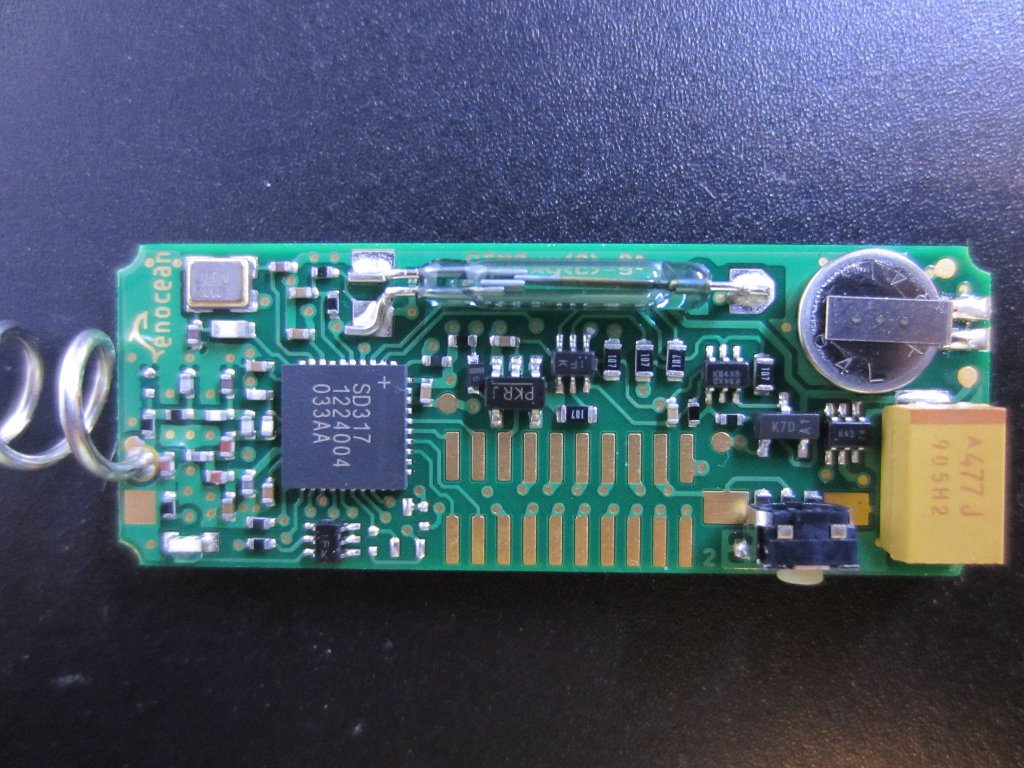
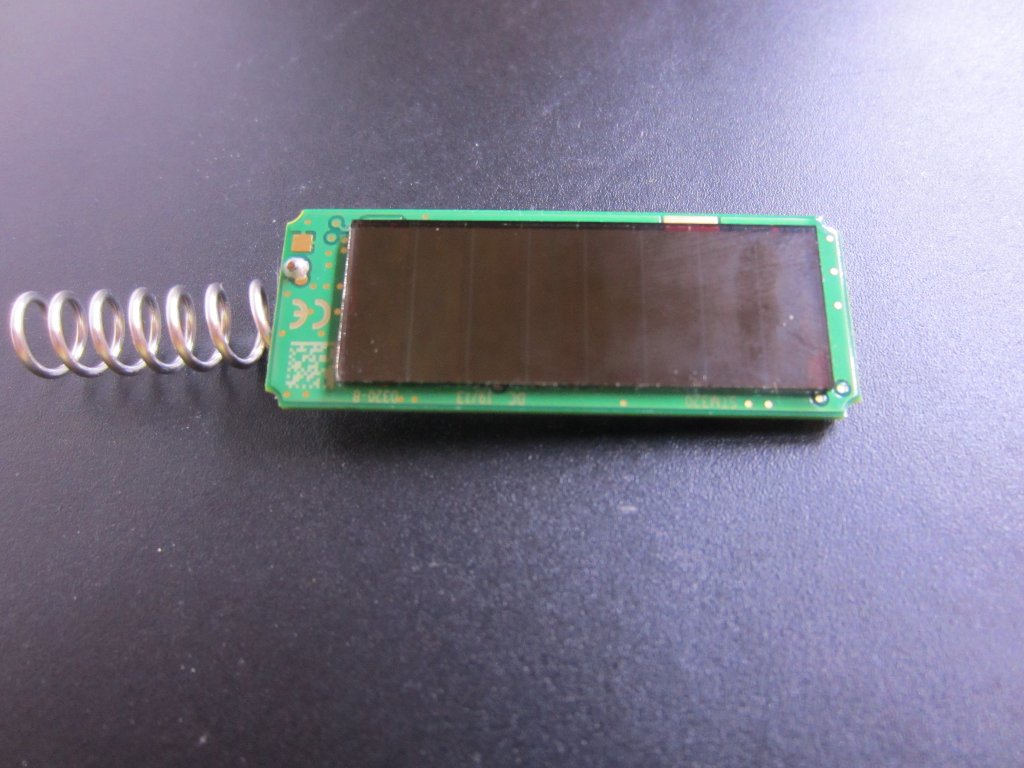
And the following two pictures are the close-ups of the magnetic contact transmitter module. If you look closely you will see that the PCBs for both modules are identical. The PCB for the temperature transmitter module shown above also has the reed relay foot print, it was just unpopulated. And while the header on the temperature module is mounted, the footprint on the reed relay module is left unpopulated for some reason. The headers used here are the standard 1.27mm pitch surface mount ones.
The 8051 MCU also has 13 configurable I/O pins and integrated ADC/DAC. So in theory, we can do a lot of things with these sensor modules, not just limited to what they do out-of-the-box.
|
|
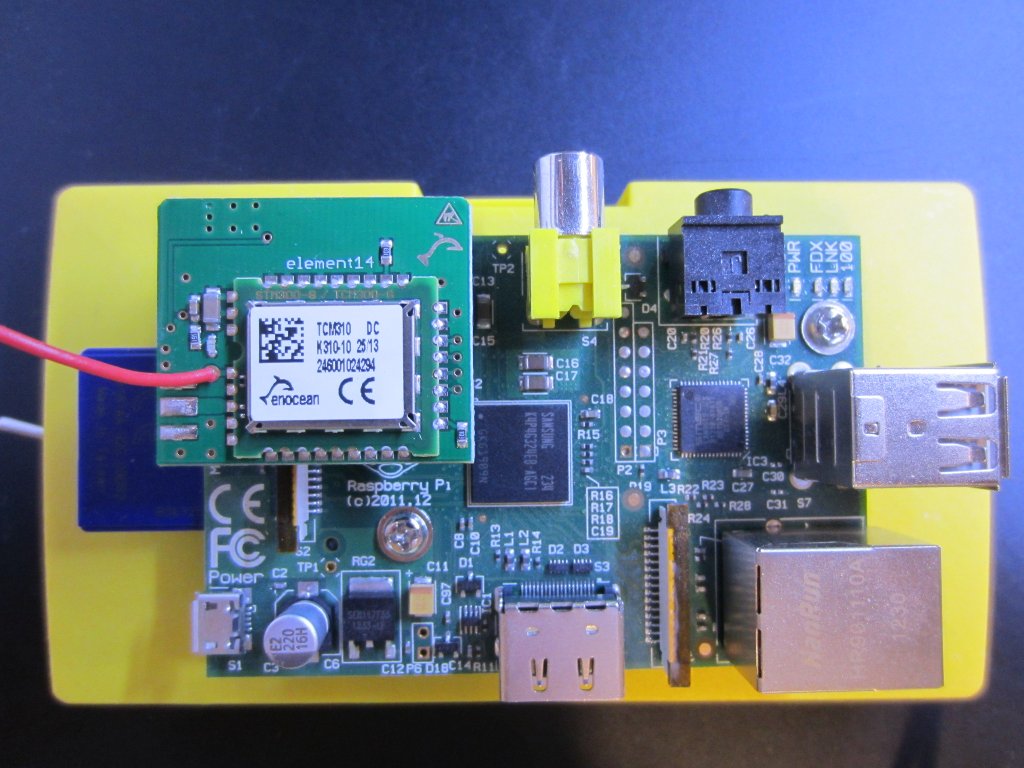
The picture to the left below shows the EnOcean Pi module mounted on my slightly modified Raspberry Pi model B board. And the picture on the right shows the board when powered up.
|

|
In the coming weeks, I will be experimenting with these modules and will definitely share my experience here. But for now I simply followed the instructions in the sensor kit user guide and set up an Fhem IoT server on my Raspberry Pi so I could try out some of the basic functionalities of these sensor modules.
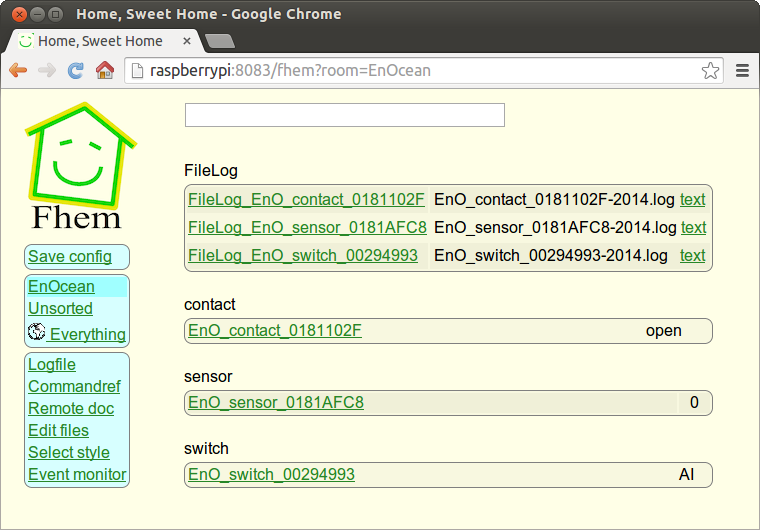
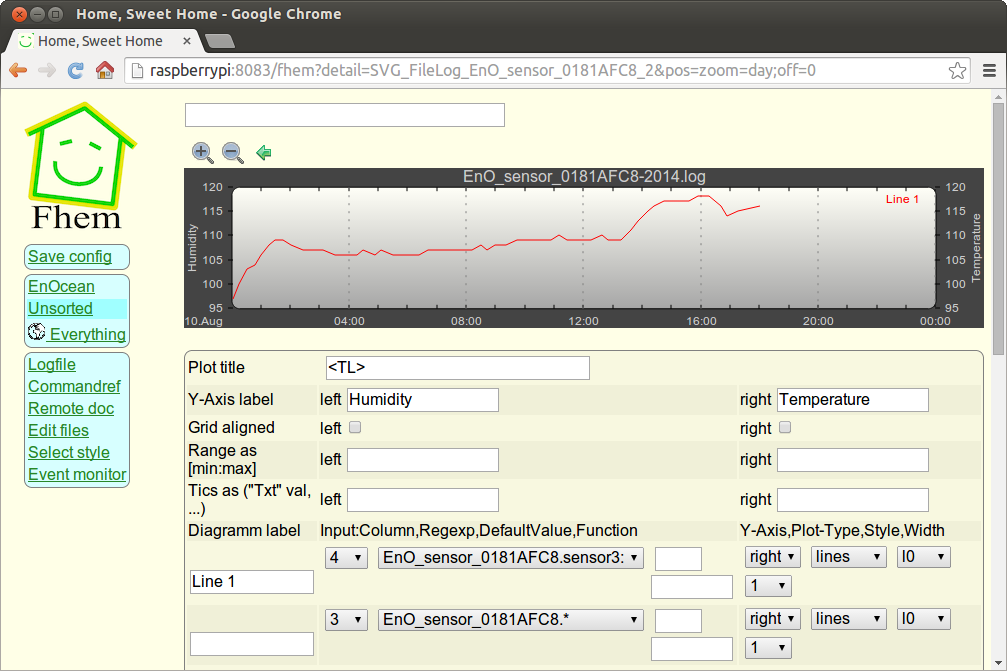
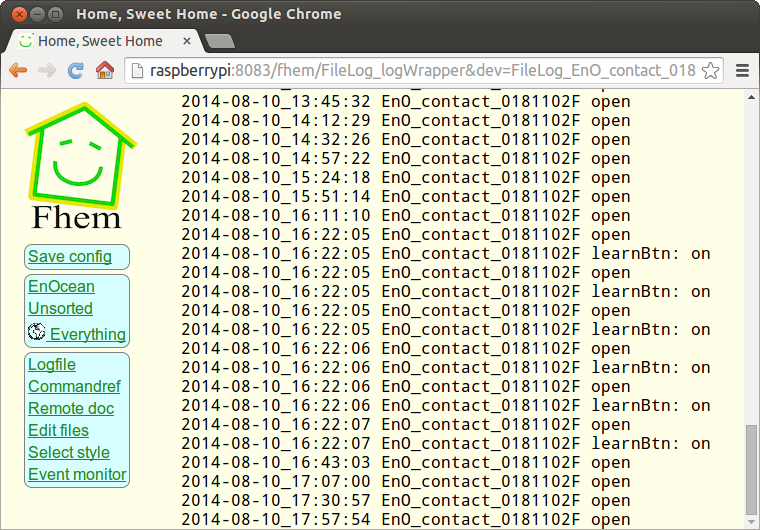
Fhem automatically detects the gateway module and the EnOcean sensors out of the box. Here are a few screenshots showing the received messages from the temperature sensor, pushbutton module and the magnetic contact sensor. One cool feature of Fhem is that you can even chart the received data. The picture below shows the charted temperature data. The temperature readings seemed to be quite a bit off though, but I am sure you can calibrate the readings.
|
|

|
|

