During the teardown of my Wavetek 859 pulse generator last week, I pretty much concluded that it was beyond economical repair since there definitely was something wrong with the main processor board. Well, after spending some time analyzing and troubleshooting I was able to fix it after all. Towards the end of the post I included a video showing this pulse generator in all its glories.
If you saw my previous teardown video, you would have noticed that towards the end I did a few measurements of the power rails and the processor board. The voltages on all those supply rails were almost exactly to their specifications so I knew that the power supply was in good working condition.
My doubt mainly came from the fact that while there were detectable clock signals from the oscillator and MCU peripherals, the processor board failed to boot up. Since I do not have a service manual on hand, I wasn’t sure whether the empty sockets on the processor board was meant to be like that or someone had removed some EPROMs during prior repair attempts. But after looking at a couple of pictures of other Wavetek 859s on the internet, it appeared that the two unpopulated sockets were most likely to be left blank intentionally (possibly reserved for other options). So the processor and the EPROMs might not be at fault after all.
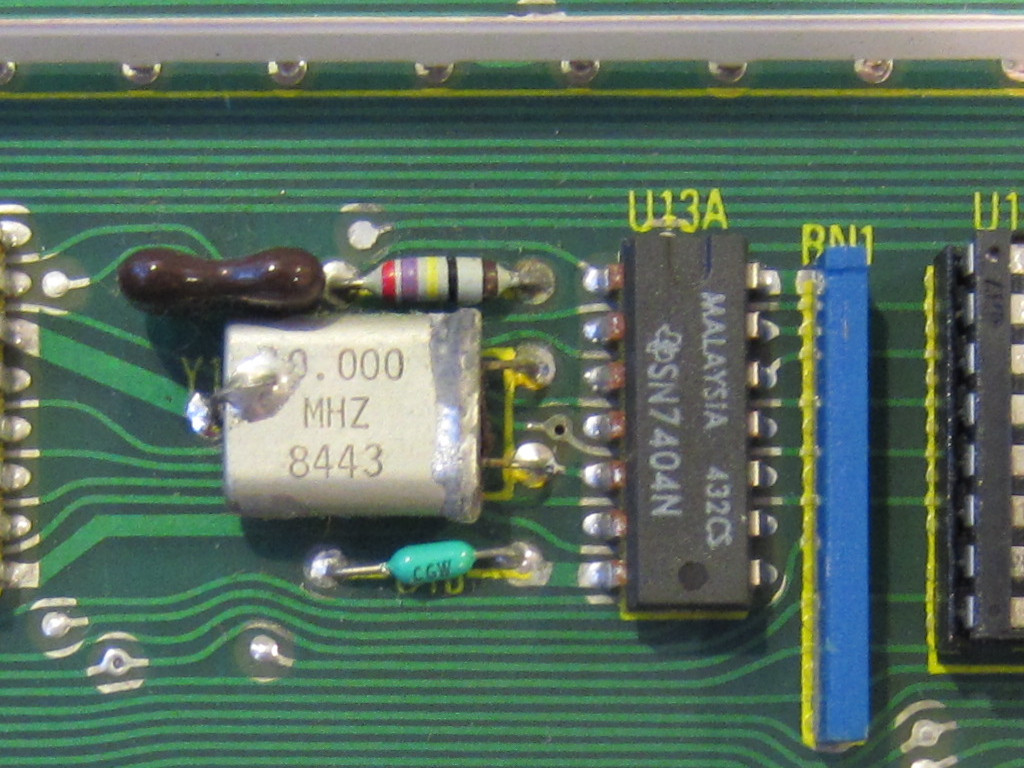
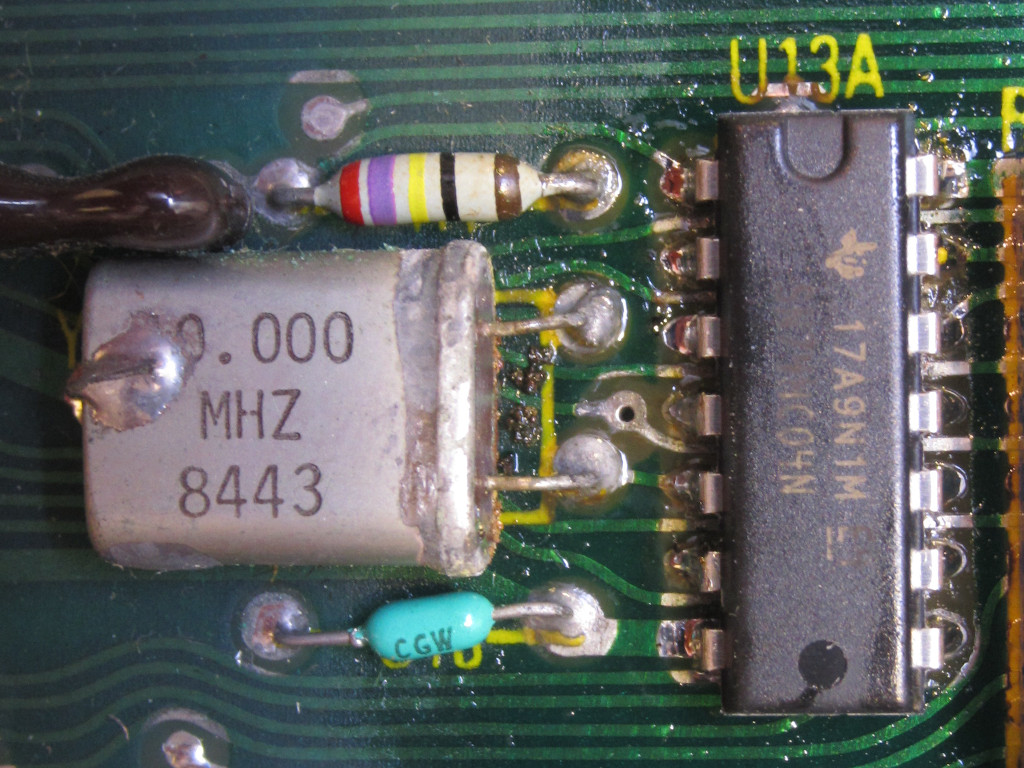
So my attention was back onto the oscillator circuitry. During the teardown I mentioned that while the oscillator circuitry appeared to be in working order it did look to be a bit corroded. And when I reviewed the footage of the testing video, I noticed that the clock output seemed to be a bit low (the high was around 4V even though it should be near 5V). Clearly, something wasn’t quite right. My guess was that the corrosion might have created some cold solder joints. So I went ahead and cleaned up this section of the board. The pins on the original 7404 (see image to the left below) were almost corroded through so I decided to swap it out with a compatible 74HC04 out of precaution (see picture to the right below), and touched up all the solder joints in this area.
|
|
And sure enough, after this the Wavetek 859 booted up! I later swapped out the 10 MHz crystal as well (you will see that in the video below) as it was quite rusted through and could fail sometime in the future.
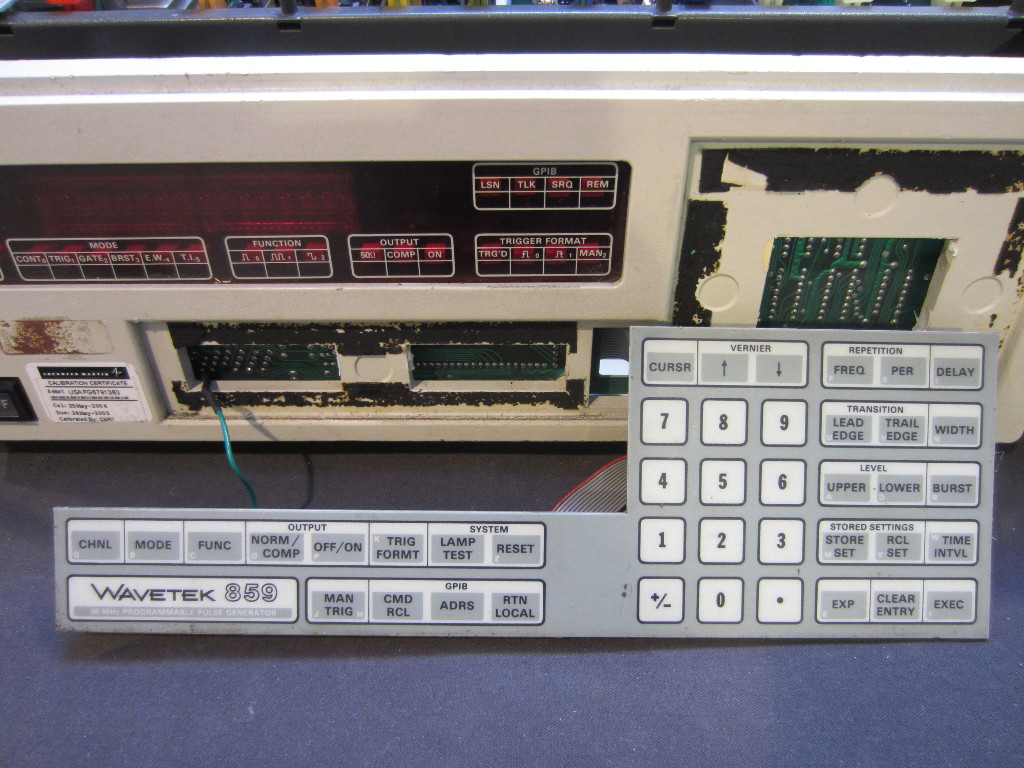
But I was confronted with another problem. Only a couple of buttons on the front panel would work and I was not able to set anything no matter how hard I pressed the keys. So most likely the keypad also had some issues.
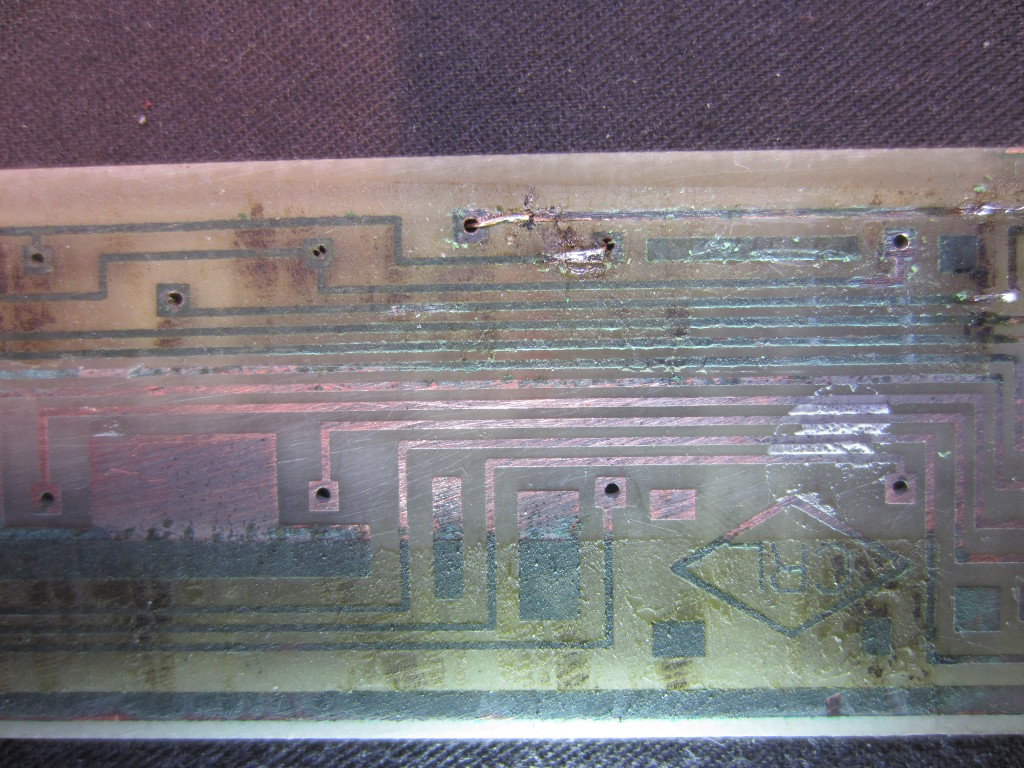
The keypad on Wavetek 859 was etched from a single piece of PCB and has what I believe a thin patterned metallic film attached on the other side which forms the capacitive sensing circuit. Taking the keypad out was not a trivial task as it was glued onto the front panel via some kind of black foamy material.
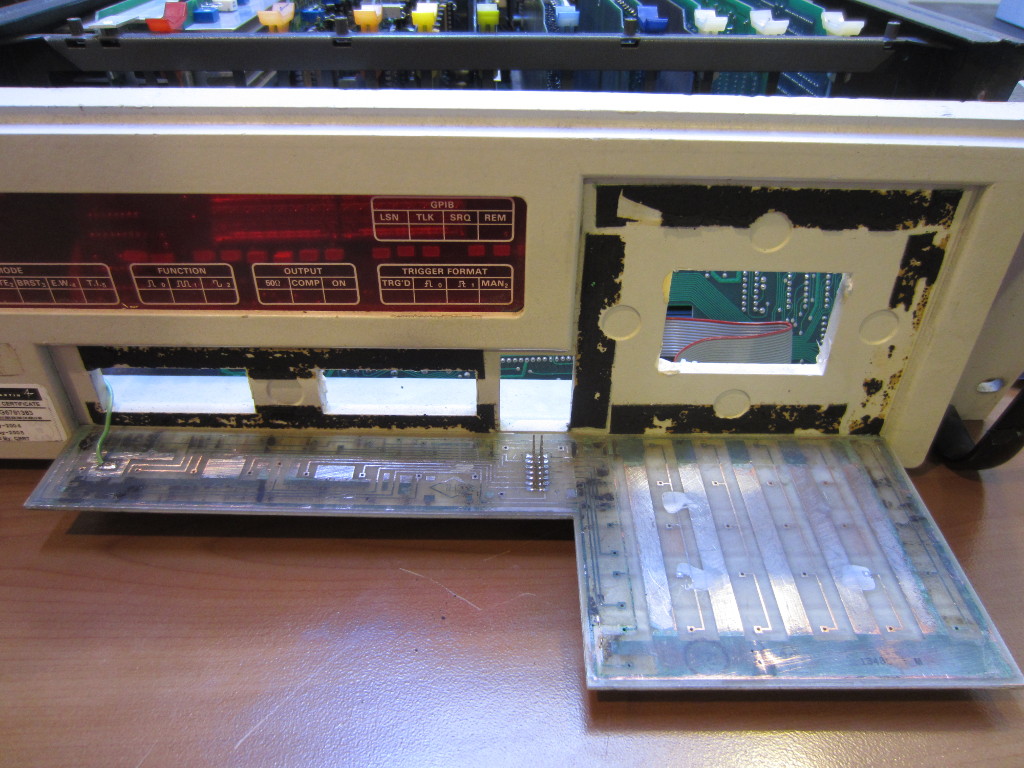
After I removed the keypad panel, it became clear why the keys wouldn’t work. The pictures below shows the keypad and what it looked like after I gently sanded off the greenish oxidation layer. I forgot to take a picture before cleaning off the surface, but you can imagine what it originally was like by just looking at the semi-cleaned up area. When the board first came off, the area touching the foamy stuff was heavily oxidized.
|
|
What may have contributed to this corrosion I suspect, is that the equipment had been left in a high humidity storage environment for a long time and the foam inside had soaked up all the moisture in the air and over time some copper traces were eaten away.
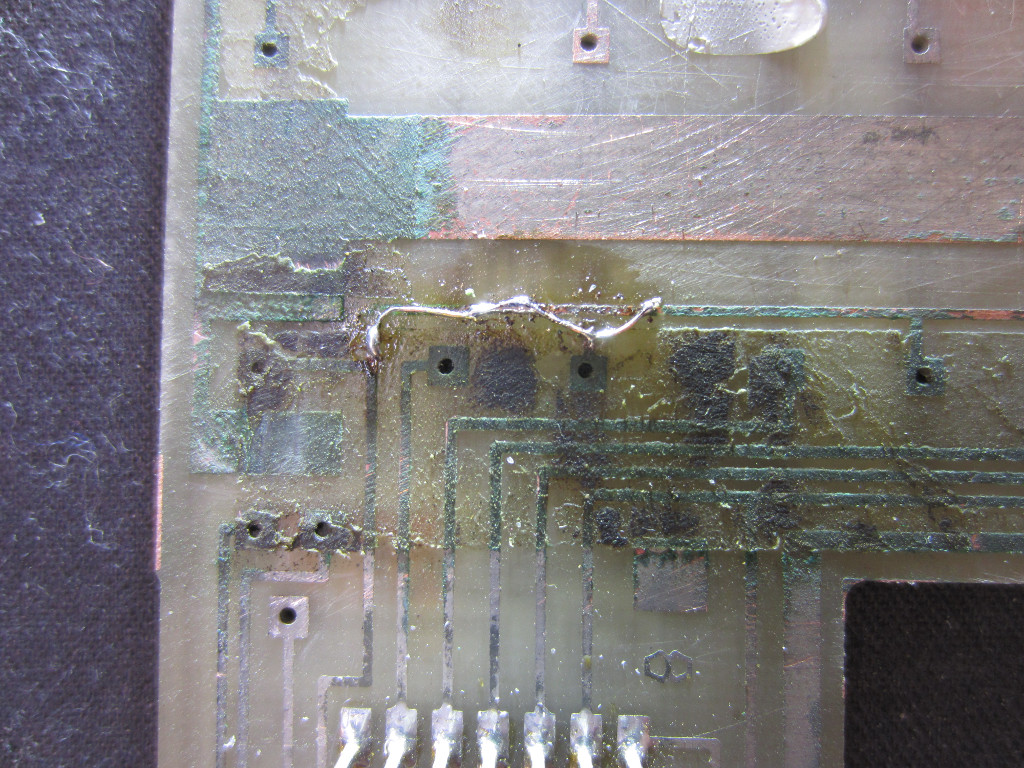
Here are a couple of pictures taken after I had fixed all the broken traces:
|
|
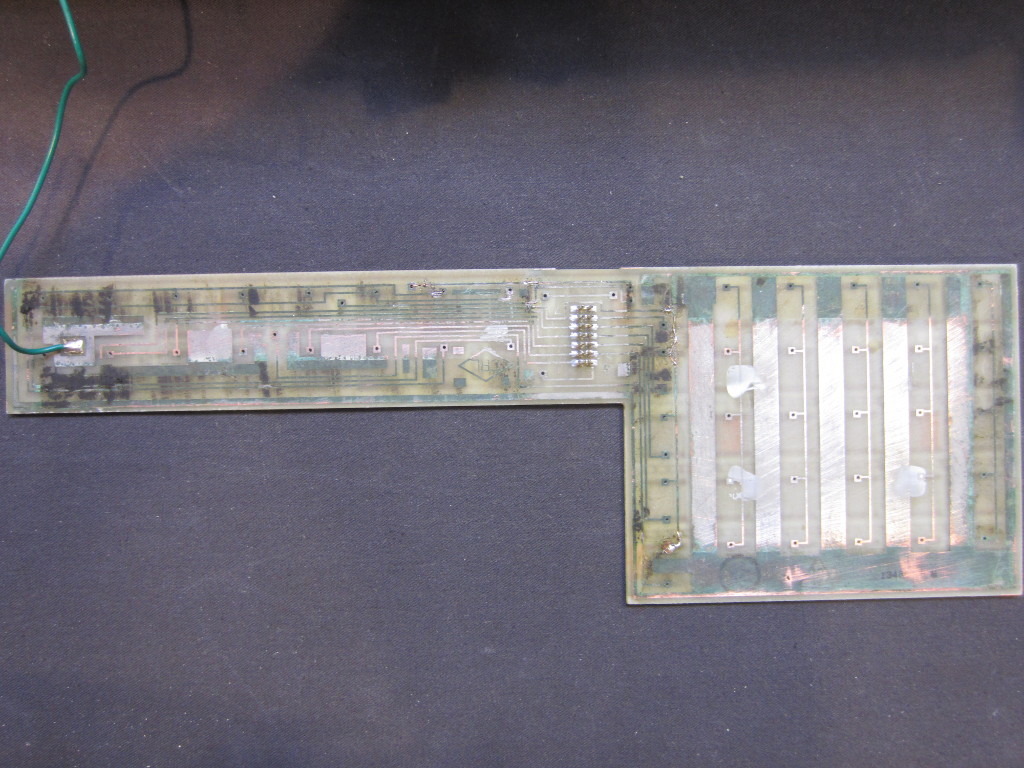
Here is another picture showing the entire backside of the keypad. I probably could have used a bit more cleaning on this side.
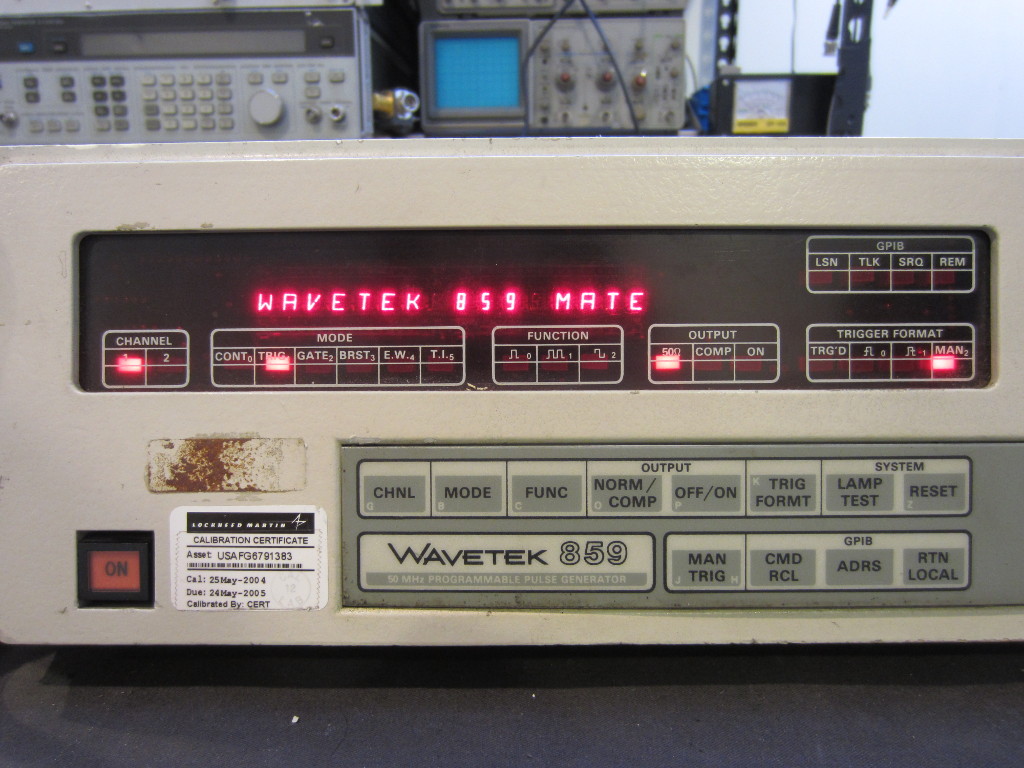
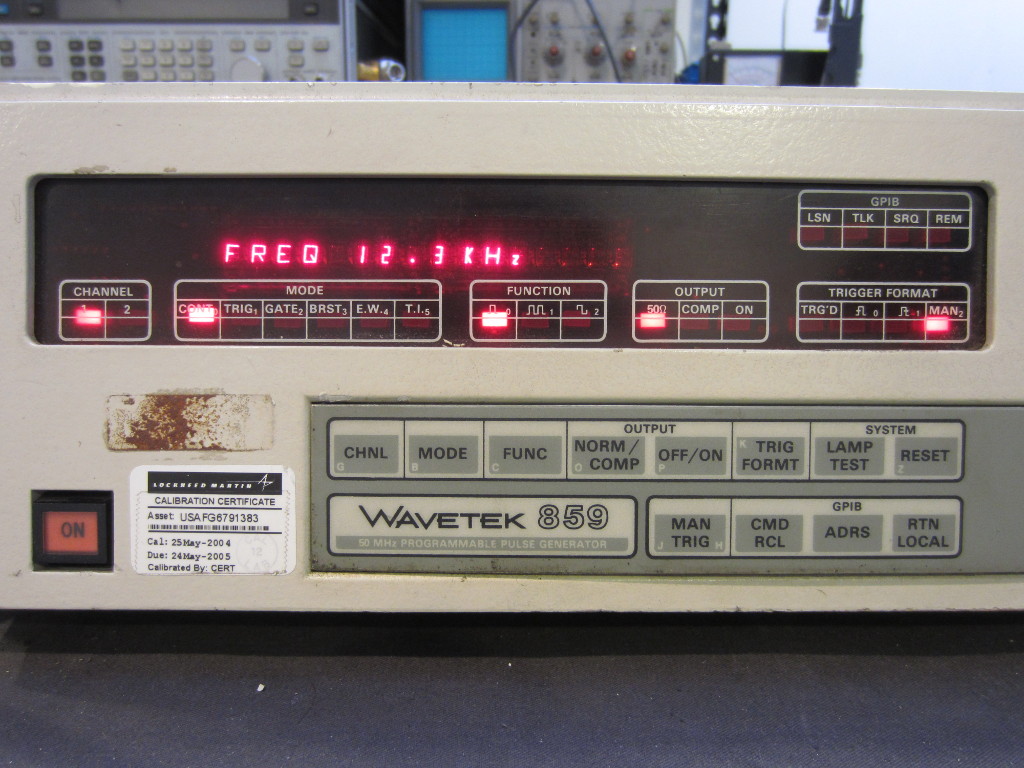
And whoa la, now this Wavetek 859 pulse generator powers up, initializes and responds to commands.
|
|
In the video below, I conducted a couple of tests and everything appeared to be in working order.
|
View on YouTube in a new window |

